GETTING STARTED
Introduction
Core capabilities of Workspace.ai
Release Notes
Product Keyboard Shortcuts
FAQ

WORKSPACES - ORGANIZE YOUR WORK
Workspace Overview
Create a new workspace
Join an existing workspace
Perform other actions on a workspace board
Upload files to your workspace
Add Boards to workspace
Create Folder

TABLE
Table Overview
Create a new table from scratch
Import data into your table
Connect to an existing data source
Create a new table from a template
Add a column to the table
Collaborate using Add ON in a table
Add a new view to the table
Other options in the table
Perform other actions in the table
Perform other actions on a record in a table

APPLICATION
Application Overview
Create a new application
Add a new table to your application
Perform other actions in an application

AUTOMATIONS & INTEGRATIONS
Automations & Integrations Overview
Create automation and automation triggers
Integration with external third-party tools

DOCUMENTS
AI Document Overview
Create a new document
Create a new document from a template
Modify the document using contextual items
Manage your document
Perform other actions in the document

EMBED
Embed Overview
Embed a webpage
Perform other actions on the embedded webpage

HOME
Home page overview

TO-DOs
To-Do Overview
Create a new task
Perform other actions in the To-Dos list
Filter options in the To-do list

CALENDAR
Calendar Overview
Create a new Calendar event

UNIVERSAL SEARCH
Search Overview
How to use the search and apply filters
Connect to an external search skill for extended search

ADMINISTRATION
Add a new bot skill

WORK WITH KORA BOT
Kora Overview & Capabilities
How to use the Kora Bot
Manage Widgets in Kora Bot

ANALYTICS
Analytics Overview
Create a new dashboard
Perform other actions in a dashboard
Add a widget in a dashboard
Perform more actions on a widget

API REFERENCE
API Introduction
Generating an API key
List of APIs
User Profile APIs
Get self-user profile
Search for users account
Search for workspaces of users
Table App APIs
Search for a Table App for which user got access
Get specific tableapp by tablapp ID
Get specific table of a tableapp using table ID
Get rows of a table
Create row inside a table with content
Get specific row of a table using rowID
Update specific row of a table using rowID
Delete specific row of a table using rowID
Poll for table row updates from specific time
  1. Home
  2. Search Overview
  3. Connect to an external search skill for extended search

Connect to an external search skill for extended search

You can also explore the different search skills that are enabled to you by your administrator and integrate them with Workspace.ai so that the data in those external applications are also accessible from the product.

Note: You will be able to add any external skill such as Jira or HubSpot or Zapier if your administrator has given access to you for that particular external skill.

To authorize and add an external search skill, follow these steps:

    1. Click the Search icon from the primary navigation pane. The Search everything dialog is displayed.
    2. Click Connect your external systems for extended search option from the footer of the Search everything dialog box. The Integrations dialog is displayed.
    3. Click the Explore Integrations tab and a list of all the tools that you can connect to your product are displayed. You can connect to your JIRA, HubSpot, or Zapier account.

In this procedure you will see how to connect to your Jira account and take the benefits of the search skills.

Connect to your Jira account

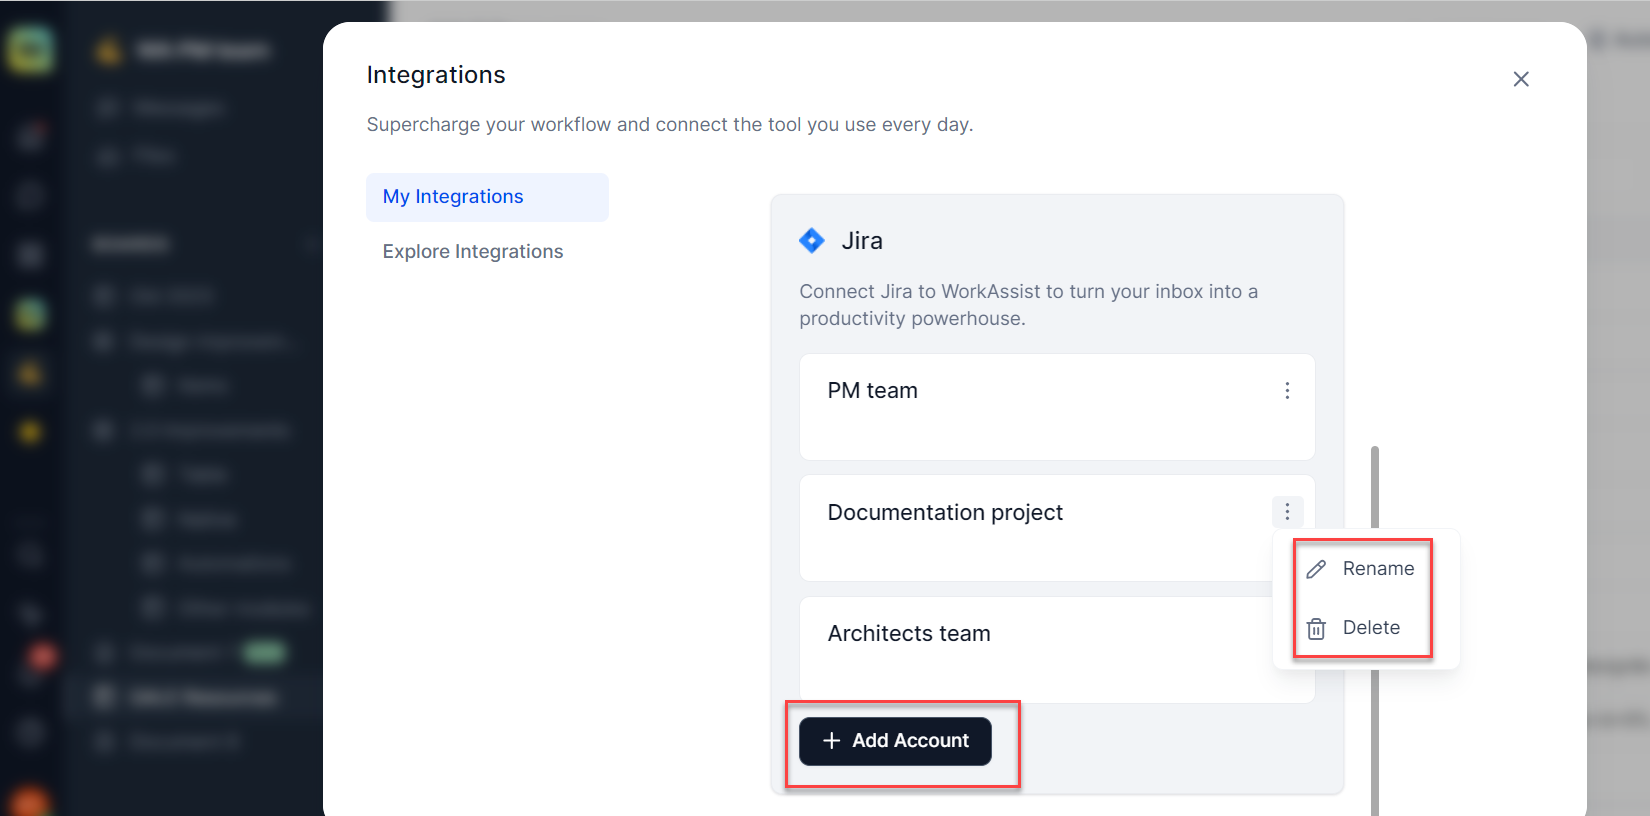
  1.  Click Jira from the list of tools available. The Add Jira account dialog is displayed.
  2. Click Add Account. The Atlassian access request dialog is displayed.
  3. Click Accept. The Select account dialog is refreshed and displayed.
    Note: If you are already connected to a Jira account then, you need not perform steps 4 to 6.
  4. Select your Atlassian Jira account name from the drop-down box of the Select an account field.
  5. Click Next to go to the configuration step.
  6. Enter an Integration name at the Configuration page and click Next.
  7. Click Connect now to allow Workspace.ai to access your Jira account.
  8. Select the Jira cloud site from the drop-down list of Jira Cloud site and click Next.
    Your Jira account is now connected to Workspace.ai and when you search using a keyword then the search results related to the keyword from your Jira account are also displayed here.
Note: You can manage your external integrated search skills and perform additional tasks such as add any number of accounts, rename, and delete an account from the Integrations page..


© 2023 Kore.ai, Inc. – All trademarks are the property of their respective owners.

Menu