Integrations in Workspace.ai allows you to integrate with third-party tools that enable performing a wide range of tasks. Currently, Workspace.ai supports integration with Jira, HubSpot, and Zapier.
In this topic, we will see in detail how you can integrate Workspace.ai with Zapier and use it.
How to build custom integrations using Zapier
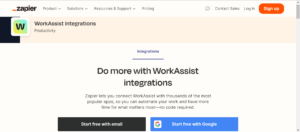
Zapier is an automation tool that helps you automate repetitive tasks between two or more apps. It is an integration platform that allows Workspace.ai users to build integrations between Workspace.ai and the other products available within Zapier. You can set an event to happen in one application and using Zapier the action is performed in another application. Every connection you make within Zapier is called a Zap. Using Zapier you can avoid repetitive tasks by creating a reminder for your team members to fill the timesheet or create tasks for example, from a JIRA account into your personal to-do list application.
Basically, a zap is created to start an automation workflow so that whenever a trigger happens in the trigger application, automatically an action is performed in the action application.
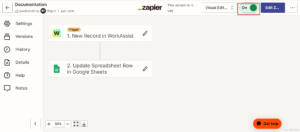
In this topic, let us take an example and create a new zap where if you update or create a record in Workspace.ai (trigger app) then the google sheet in your drive is also updated automatically (action).
Create a new Zap flow
To create a Zap, follow these steps:
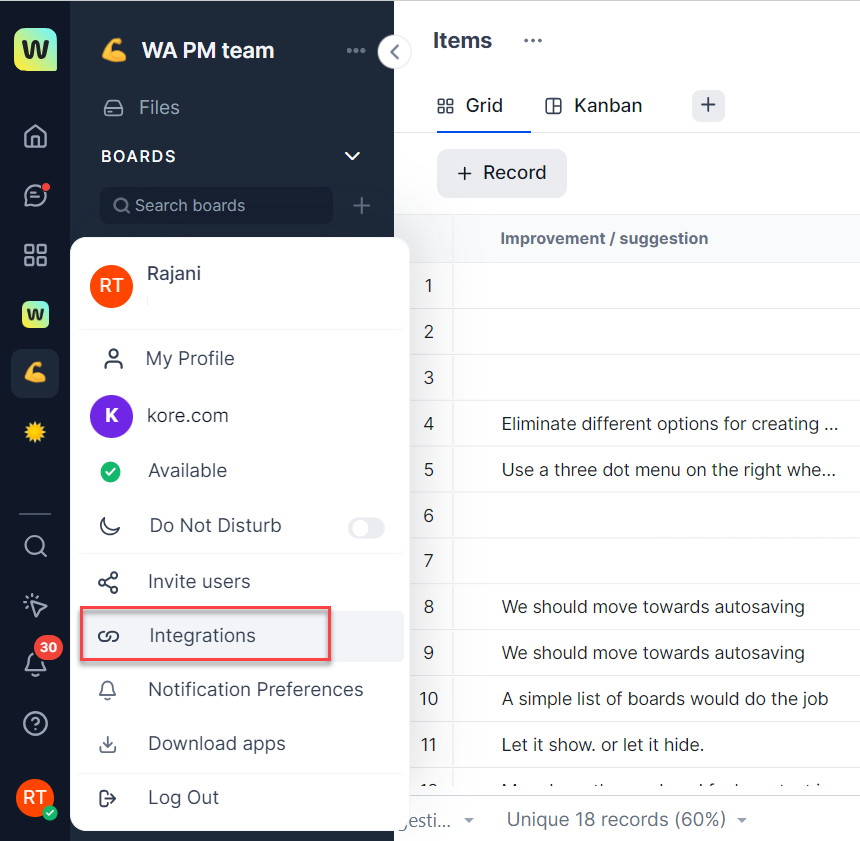
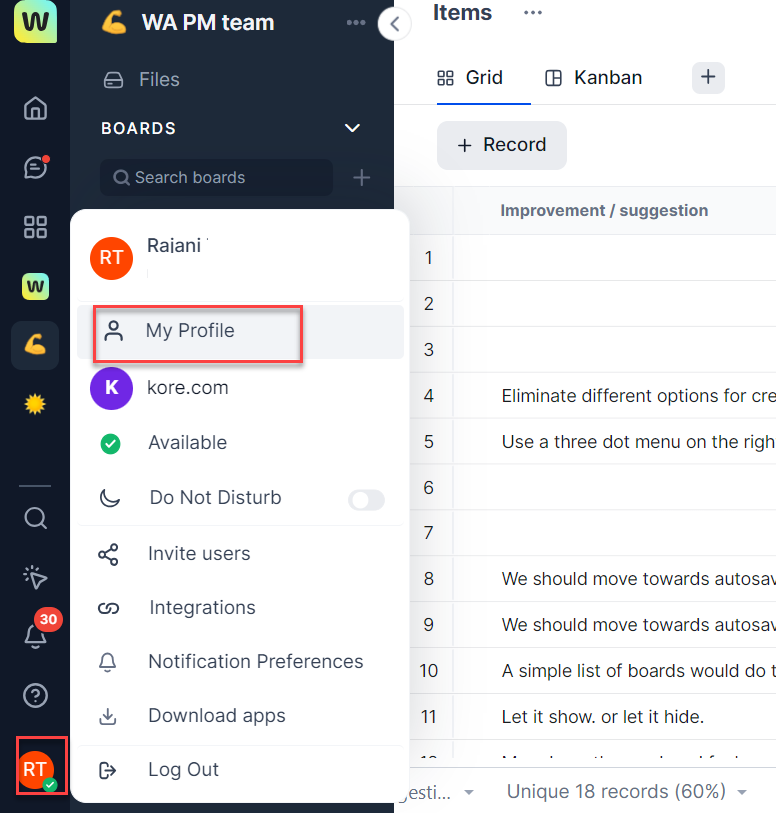
- Click the Profile icon on the primary navigation bar on Workspace.ai. A pop-up with list of options is displayed.

- Click Integrations from the list of options. The Integrations page is displayed.
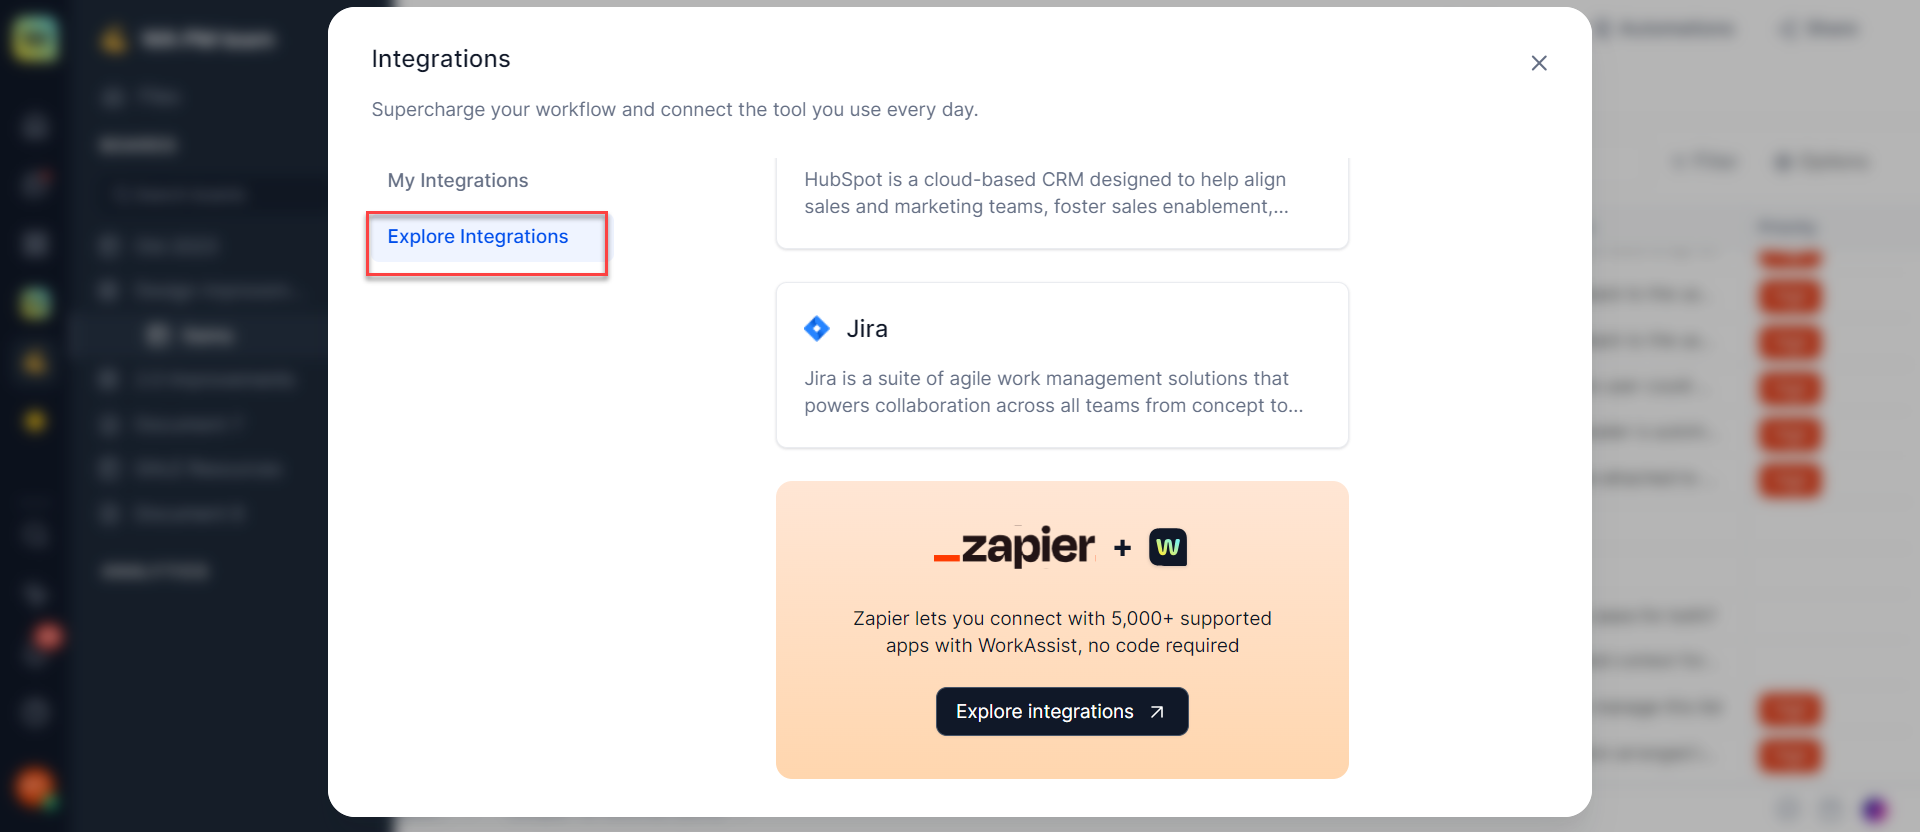
- Click the Explore Integrations button on the left side of the on the Integrations page. The list of all the external tools you can integrate Workspace.ai with are displayed.
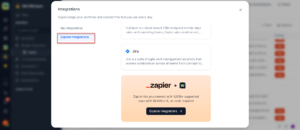
- Click the Explore Integrations button on the Zapier section to start the connection process. You will now be re-directed to the Zapier-Workspace.ai Integrations page.
- Click Login on the right side header of the page if you already have an account, else Signup to start the process. You can start the process using your Google Account details as well. Once you login you can view the Zapier page to start the automation process.
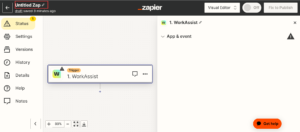
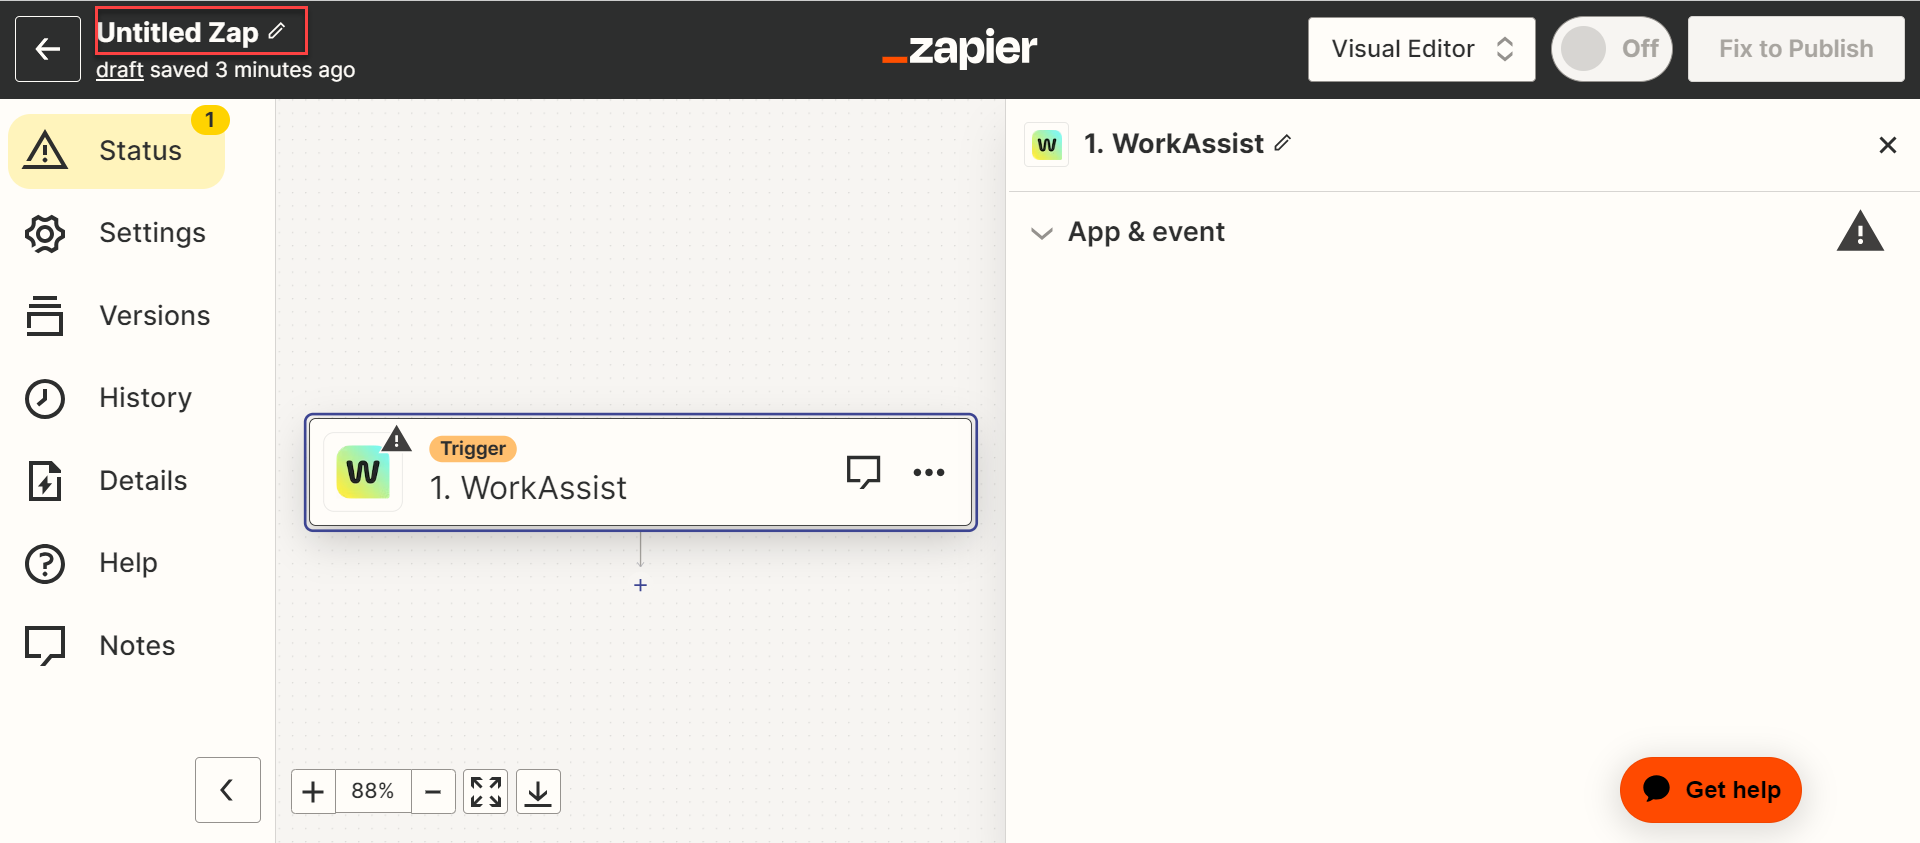
- On the Zap configuration page, in the App event field search for the trigger app. In this case, Workspace.ai is already displayed by default. You can change it if you want.
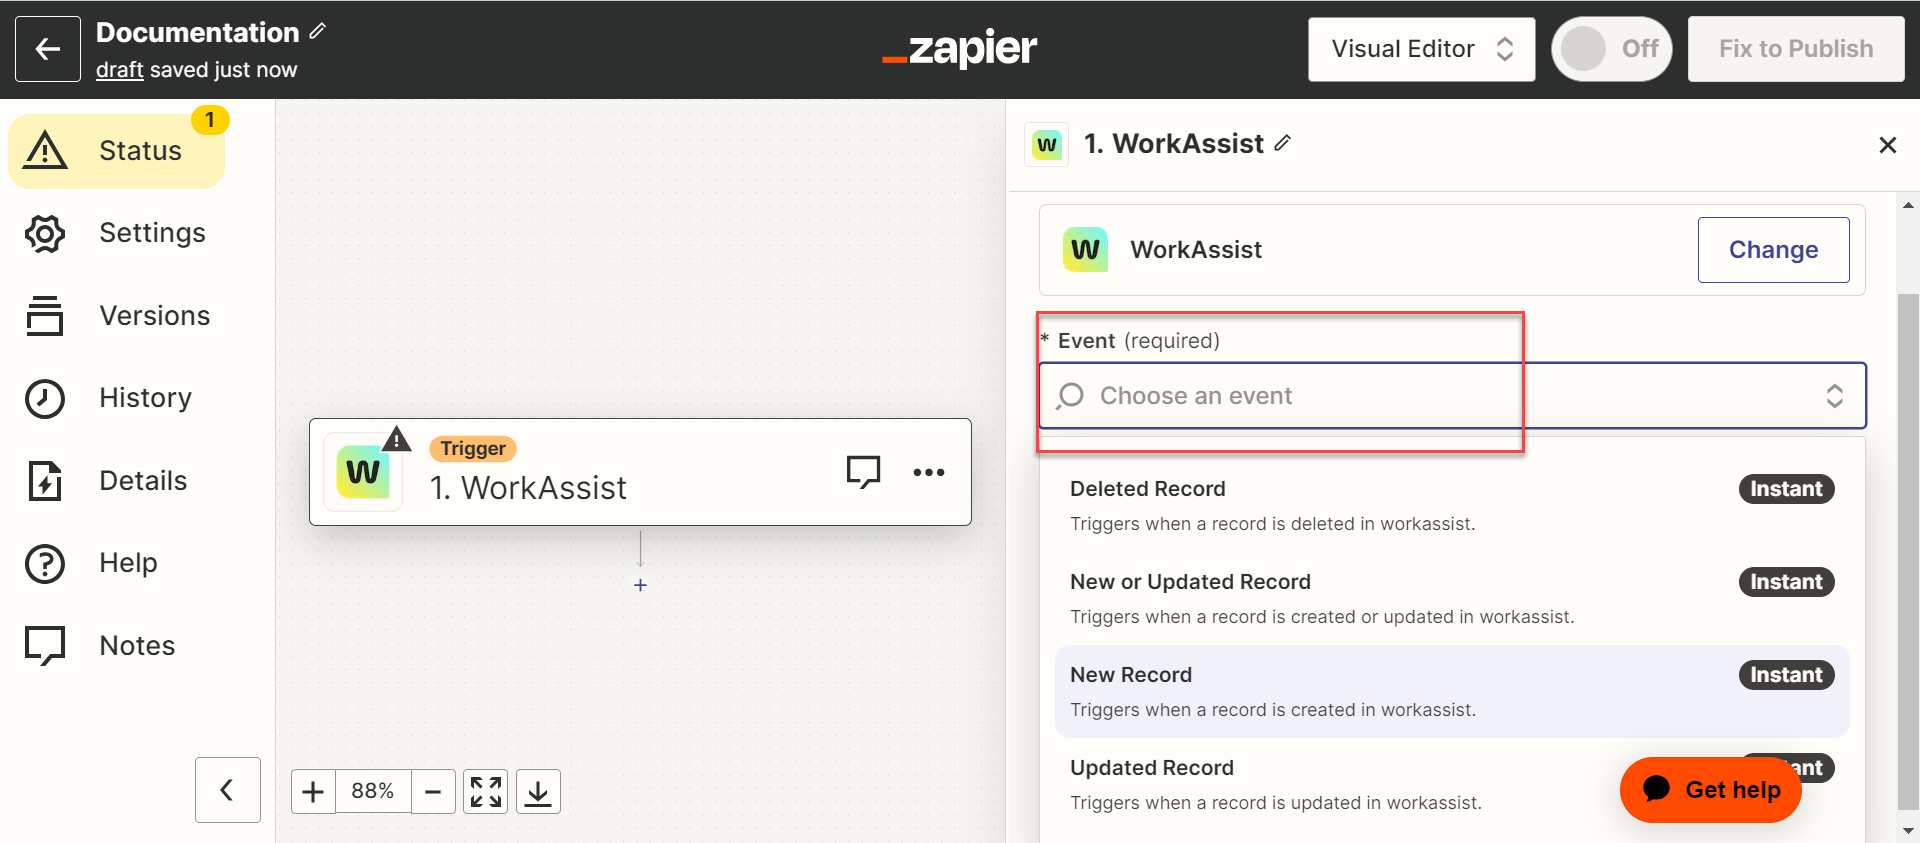
- Select an event from the Events field under the App & event section which starts the zap and click Continue.

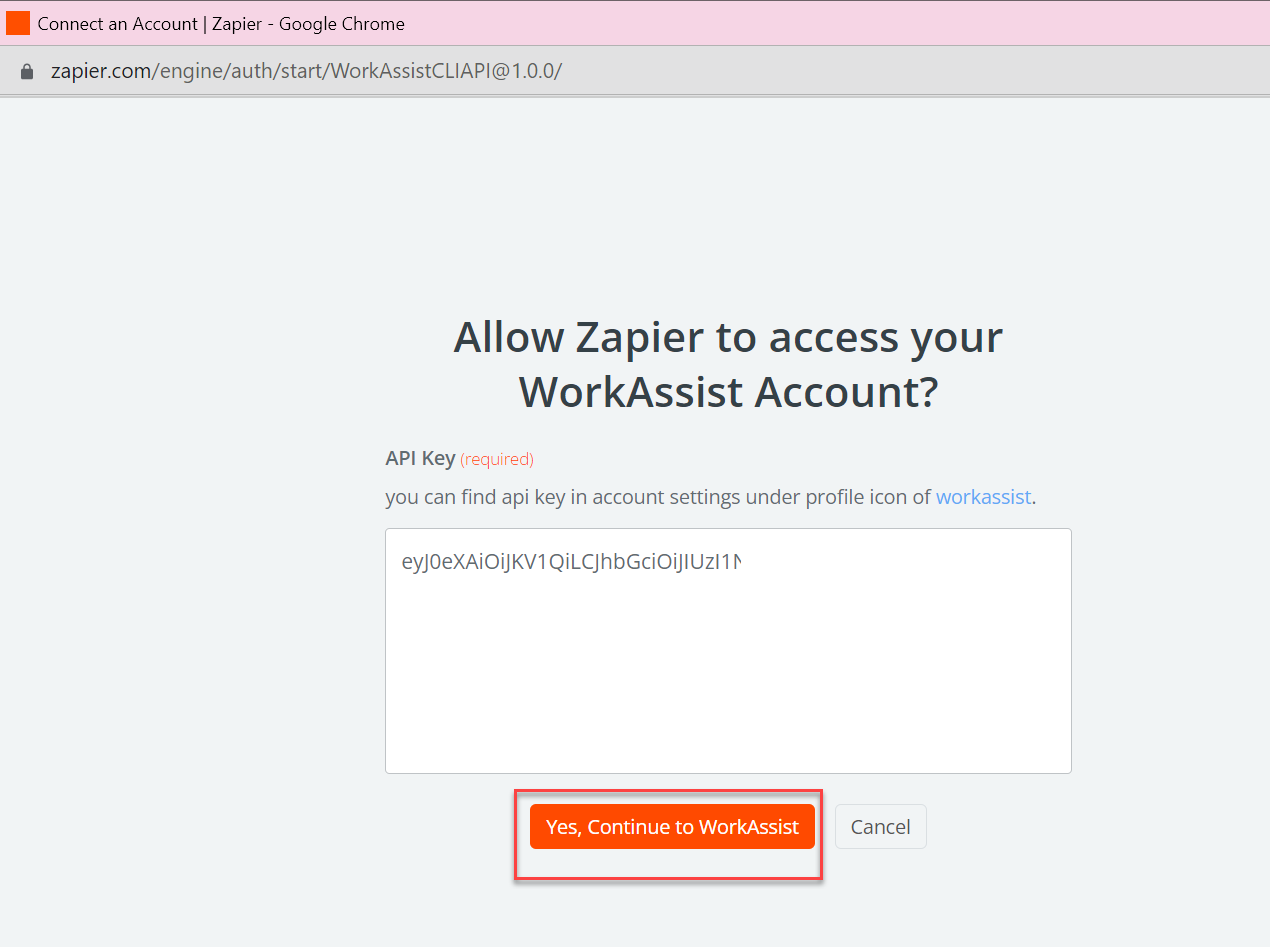
- The next step is to connect your Workspace.ai account to Zapier. If you don’t have an account yet, you can create a new account else, if you have an account already, select your account name from the Choose an account drop down and click Connect. To connect you will need an API key.
- Click Continue to move to the next step.

Generate an API key to create a new account
You need to provide access to Zapier to connect with your Workspace.ai account by generating an API key from the Workspace.ai app.
To generate an API, follow these steps:
- On the Workspace.ai home page, click the Profile icon on the primary navigation panel. A list of options is displayed.
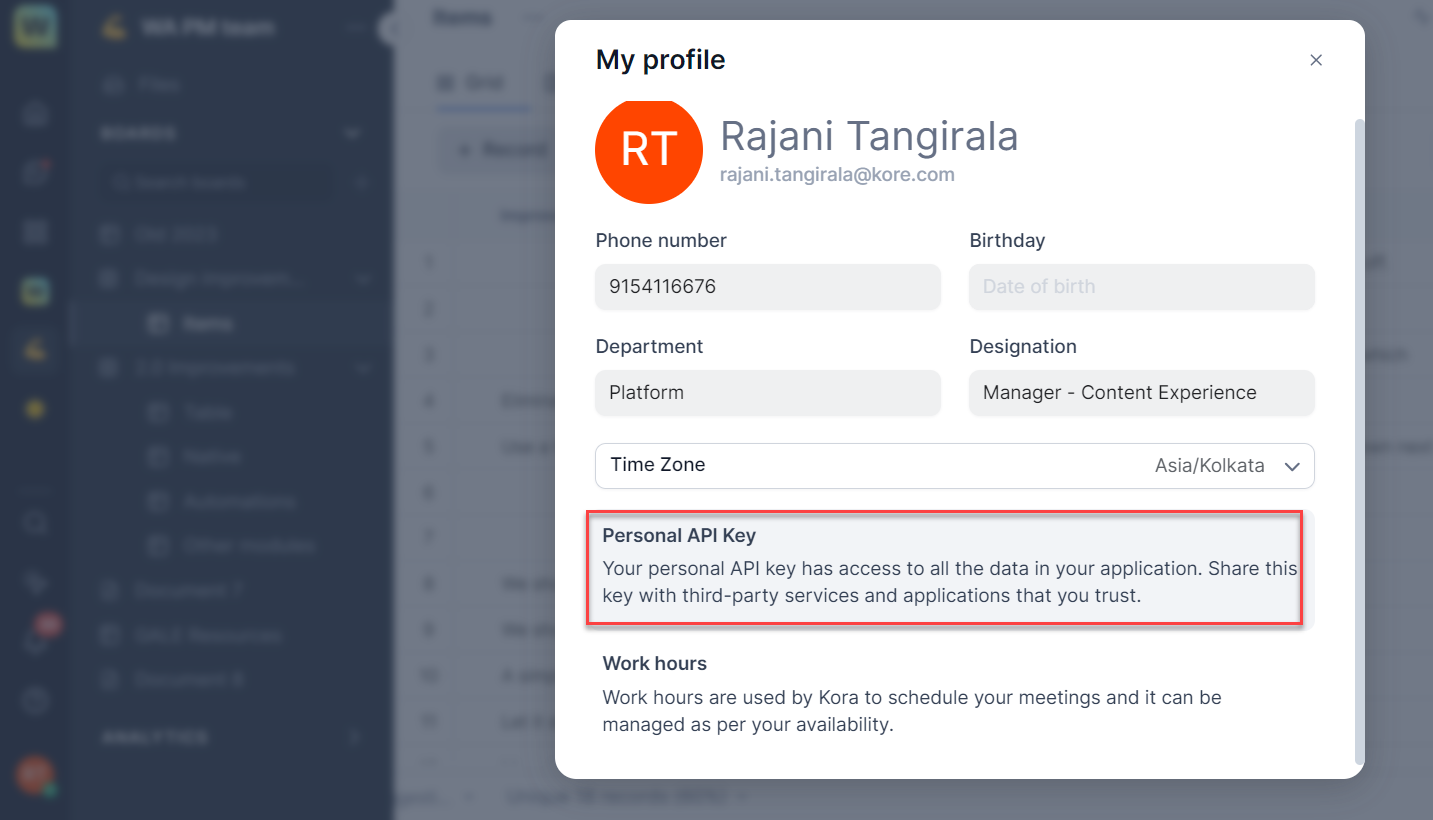
- Click the My Profile option. The My Profile dialog is displayed.

- Click Personal API Key on the My Profile dialog.
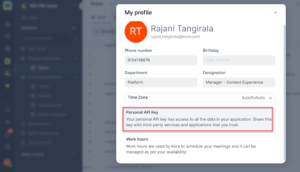
The Personal API key dialog is displayed. Click the Copy icon corresponding to the API key field and your API key is copied. - Enter the copied API key in the Connect an Account page to continue with the connection process.
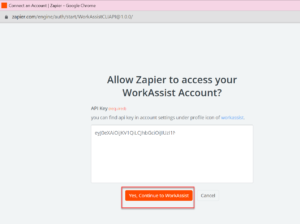
- Click Yes, Continue to Workspace.ai.
Once the account is linked with Zapier, the next steps is to set up a trigger.
Set up a trigger
A trigger is an event that starts an automation workflow or a Zap. In this section, we will consider the trigger where we would like Workspace.ai to trigger an action (updating the google sheet in your drive). You will be prompted to choose the specific events and account details for activating the trigger. For example, in this case, we want the Zap to run whenever a new record is created or updated in the selected table that you specify in your Workspace.ai app.
To set up a trigger, follow these steps:
- Under the Trigger section in the Zap configuration page, choose your Workspace, Board, and Table.
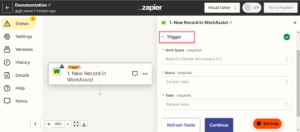
- Select the Workspace, Table, and Board from the search results of the respective fields and click Continue.
- As part of the last step, Zapier prompts you to test your trigger. Click the Test trigger button. It displays the list of 3 most recently appeared records. You can select from them or find new records.
- Click Continue with selected records. Once the test is approved and records are selected, you can move to the next step of setting up an action.

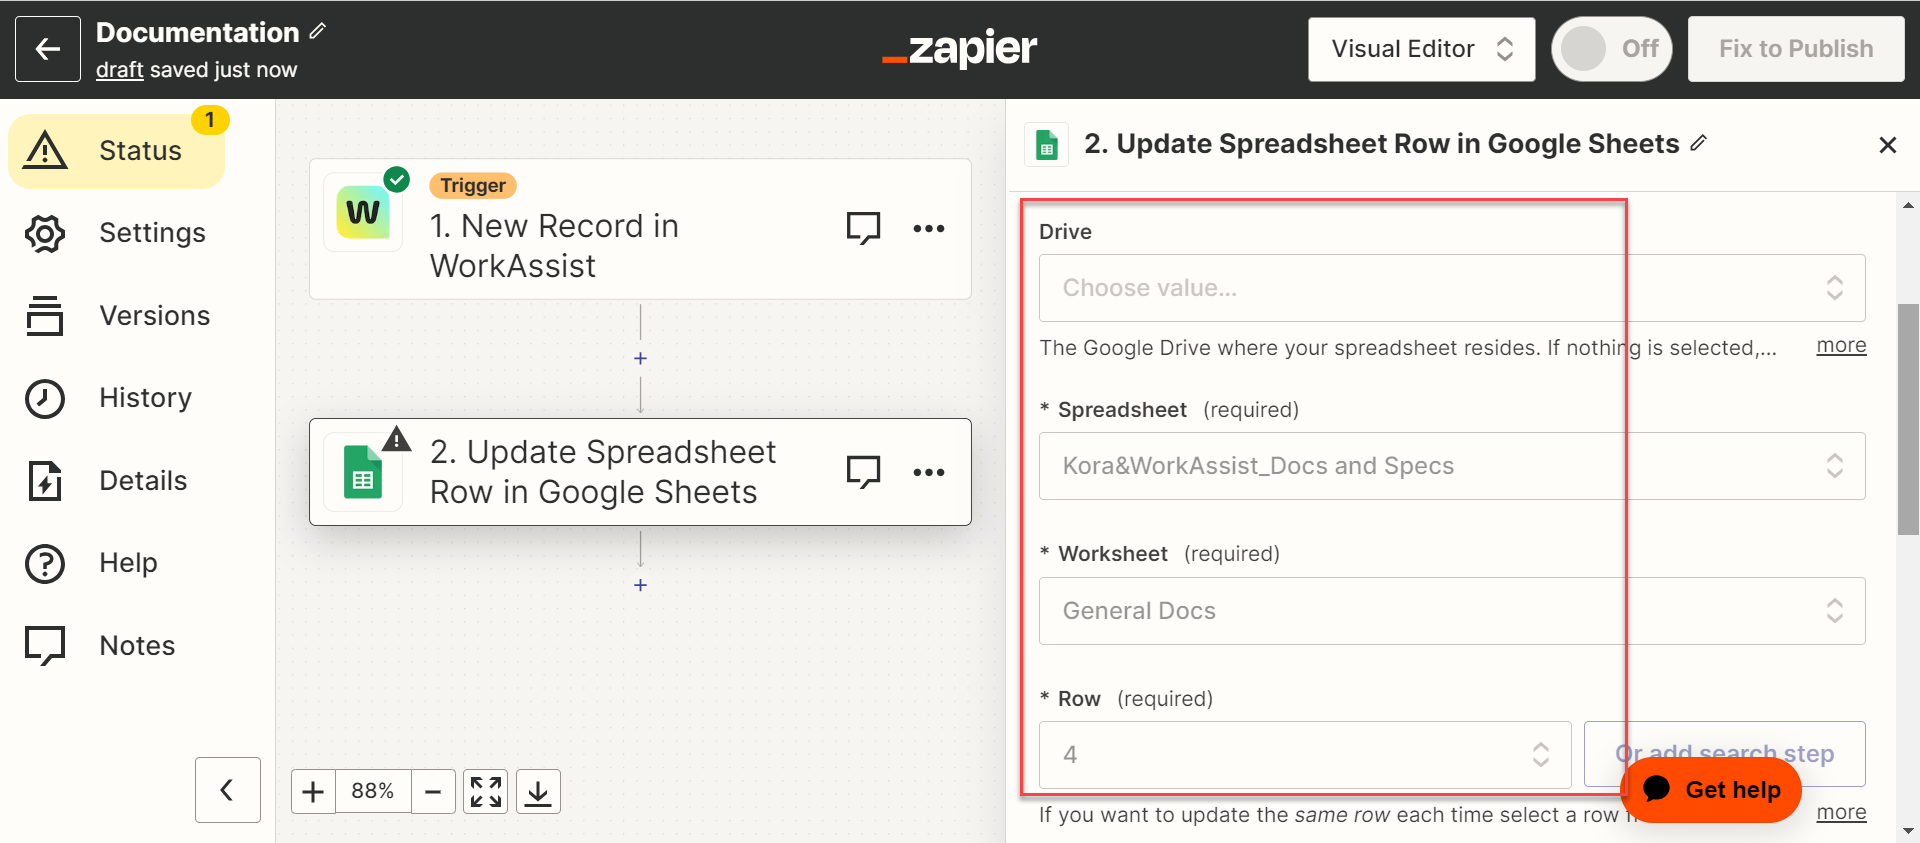
Set up an action
In this step, you can select an action app and when the trigger is initiated, the set action is performed. For example, if we select the Google sheets then we can specify the actions to be performed in your Google sheet. For example, when the Zap is run and a new record is created or updated in the table in the Workspace.ai app then your corresponding Google sheet is also updated.
To set up an action, follow these steps:
- Select the required action app from the list on the Change action page. In this case, Google Sheets.
The page is refreshed with other fields to enter.
- Select an event from the Events field which will happen when a trigger happens and Zap is executed. Select Update Spreadsheet Row event.
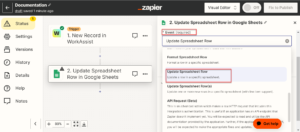
- Click Continue.
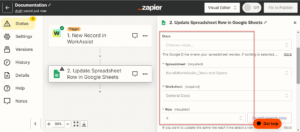
- Choose your Google Sheets account and Sign in to your account which is updated automatically when a record is updated in the table in Workspace.ai.
- Click Continue.
- Specify all the details such as “Drive”, “Spreadsheet”, “Worksheet”, and “Row”. Click Continue.
- As part of the last step, Zapier prompts you to test your action. Click Test & continue. If you want you can skip the test at this step and continue.
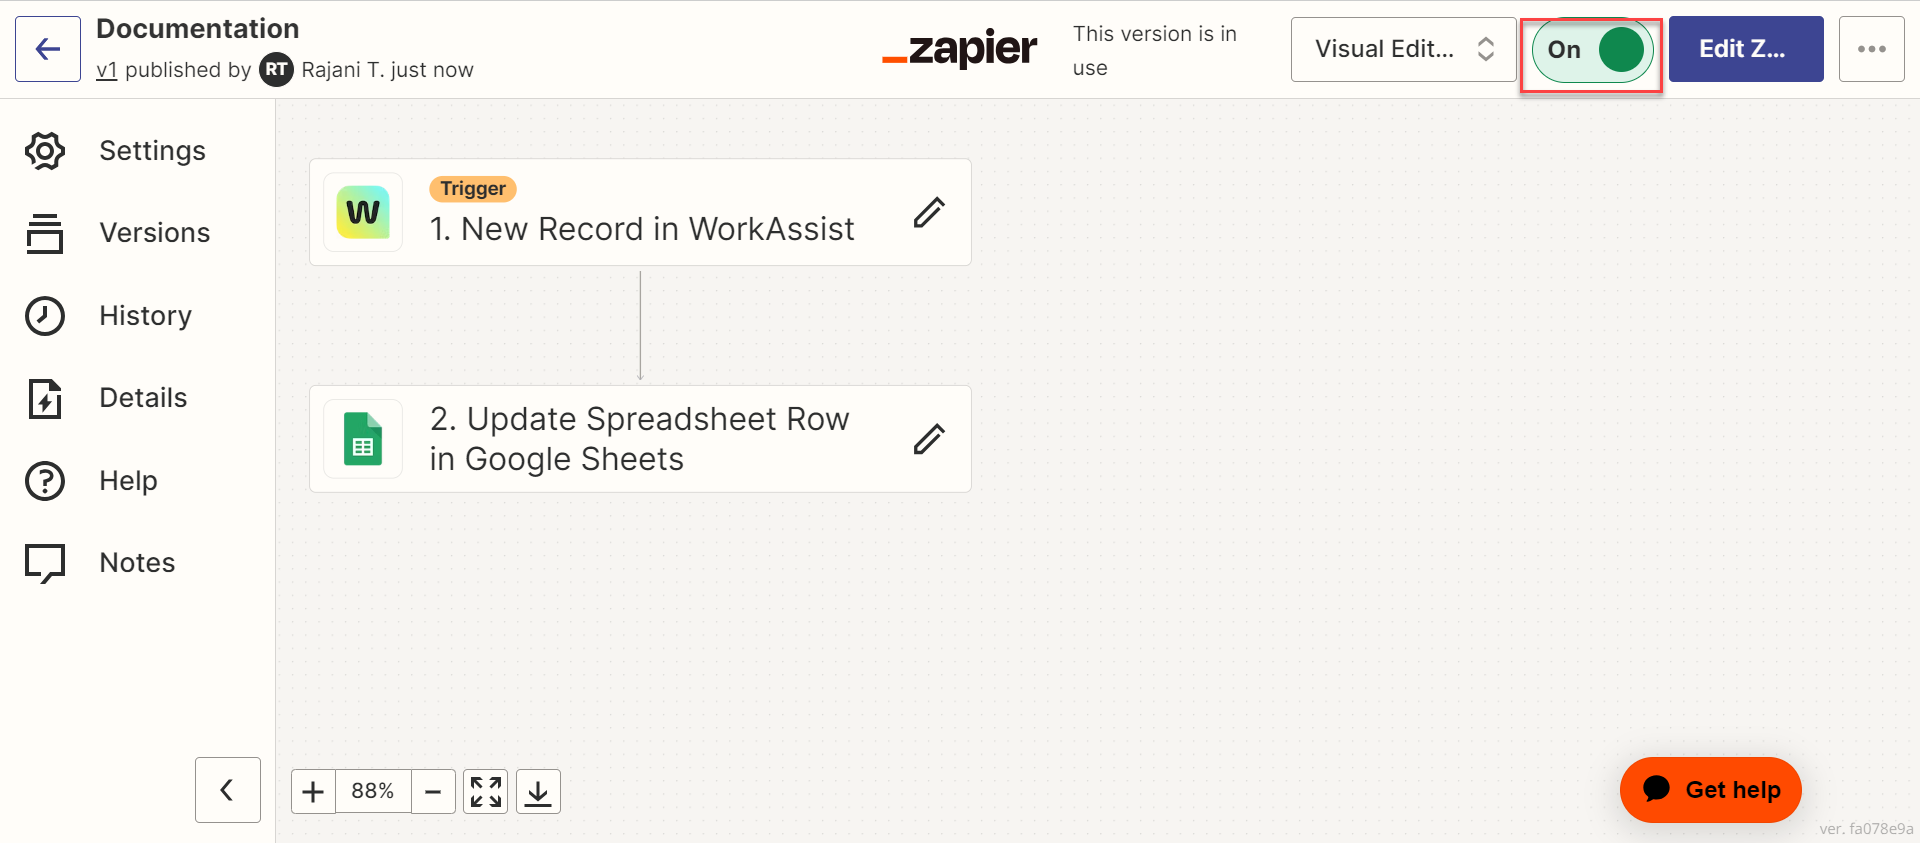
- Once you have completed setting up of trigger and action for your Zap, you can Publish the Zap to start the automation process.
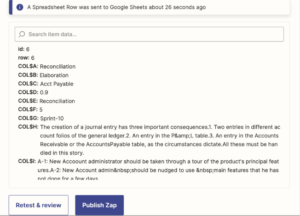
- Click Publish Zap. The automation process is started now and you can also turn off the toggle button to stop the automation if required.