You can create a document using the pre-defined templates provided in Workspace.ai. Once a required template is selected, you can add the variables in the template form and generate a document as per your requirement.
The different templates that are currently available in Workspace.ai for document generation include:
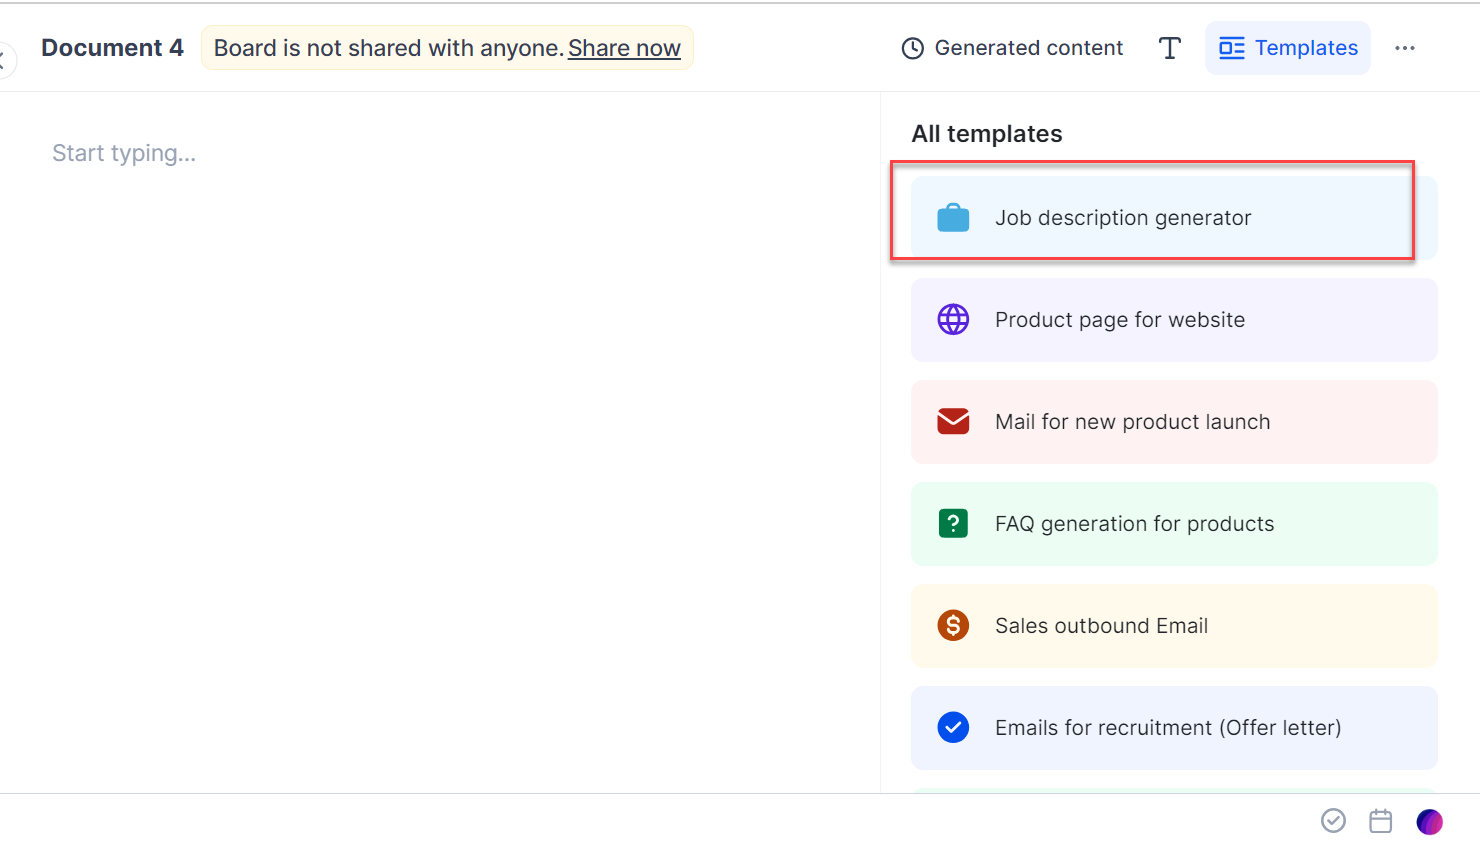
- Job description generator
- Product page for the website
- Mail for new product launch
- FAQ generation for products
- Sales outbound email
- Emails for recruitment (Offer letter)
- Emails for recruitment (Interview invite)
- Marketing Ads
Based on the template selected, the variables in the template form will be changed. For example, if you select a “Job description generator” template the fields you need to fill in are Company name, Company overview, Job title, Job level, Number of words, and Tone. Whereas for a “Mail for new product launch” template the fields you need to fill in are Product description, Target audience, and Number of words. So based on the template you select and the values you provide the document is generated accordingly and you can use the content generated as is or modify it as per your requirement.
In the following procedure, we will take the “Job description generator” template as an example and see how to generate the required content.
To generate the text from a template, follow these steps:
-
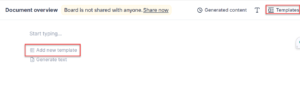
- Click the Add new template option in the new Document you created.
or
Click the Templates option on the header of the Document page.
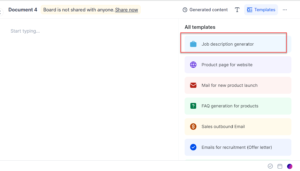
 The All templates dialog is displayed on the right side of the document.
 - Click the Job description generator from the list of options.
- Enter the Company name.
- Enter the Company overview which is about the company.
- Enter the Job title for which you are hiring.
- Enter the Job level of the job requirement.
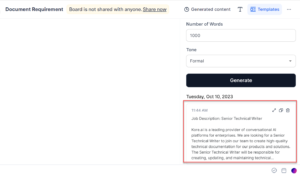
- Enter the Number of words you want to have in a job description.
- Select the Tone in which you want to have the job description.
- Click Generate. A sample job description based on the values provided is generated.
 Note: Perform other actions on the generated result such as Expand to view the result in an expanded view, Copy to copy the result to the editor window, and Delete if you don’t like the result and want to modify your prompt further.
- Click the Add new template option in the new Document you created.