GETTING STARTED
Introduction
Core capabilities of Workspace.ai
Release Notes
Product Keyboard Shortcuts
FAQ

WORKSPACES - ORGANIZE YOUR WORK
Workspace Overview
Create a new workspace
Join an existing workspace
Perform other actions on a workspace board
Upload files to your workspace
Add Boards to workspace
Create Folder

TABLE
Table Overview
Create a new table from scratch
Import data into your table
Connect to an existing data source
Create a new table from a template
Add a column to the table
Collaborate using Add ON in a table
Add a new view to the table
Other options in the table
Perform other actions in the table
Perform other actions on a record in a table

APPLICATION
Application Overview
Create a new application
Add a new table to your application
Perform other actions in an application

AUTOMATIONS & INTEGRATIONS
Automations & Integrations Overview
Create automation and automation triggers
Integration with external third-party tools

DOCUMENTS
AI Document Overview
Create a new document
Create a new document from a template
Modify the document using contextual items
Manage your document
Perform other actions in the document

EMBED
Embed Overview
Embed a webpage
Perform other actions on the embedded webpage

HOME
Home page overview

TO-DOs
To-Do Overview
Create a new task
Perform other actions in the To-Dos list
Filter options in the To-do list

CALENDAR
Calendar Overview
Create a new Calendar event

UNIVERSAL SEARCH
Search Overview
How to use the search and apply filters
Connect to an external search skill for extended search

ADMINISTRATION
Add a new bot skill

WORK WITH KORA BOT
Kora Overview & Capabilities
How to use the Kora Bot
Manage Widgets in Kora Bot

ANALYTICS
Analytics Overview
Create a new dashboard
Perform other actions in a dashboard
Add a widget in a dashboard
Perform more actions on a widget

API REFERENCE
API Introduction
Generating an API key
List of APIs
User Profile APIs
Get self-user profile
Search for users account
Search for workspaces of users
Table App APIs
Search for a Table App for which user got access
Get specific tableapp by tablapp ID
Get specific table of a tableapp using table ID
Get rows of a table
Create row inside a table with content
Get specific row of a table using rowID
Update specific row of a table using rowID
Delete specific row of a table using rowID
Poll for table row updates from specific time
  1. Home
  2. Table Overview
  3. Connect to an existing data source

Connect to an existing data source

You can integrate the data or a file from a source outside your table such as Jira Trello, Asana, HubSpot, and 100+Integrations. This helps you to manage all your data from one place.

Note: Your data integration is a two-way integration. Once your integration from the external application to your table is completed, any modification you make in your application automatically is reflected in your original file. This way you can just make changes in one place, but your outside application is also updated.

To create a new table by connecting to an existing data source, follow these steps:

  1. Open the workspace in which you want to create a new table.
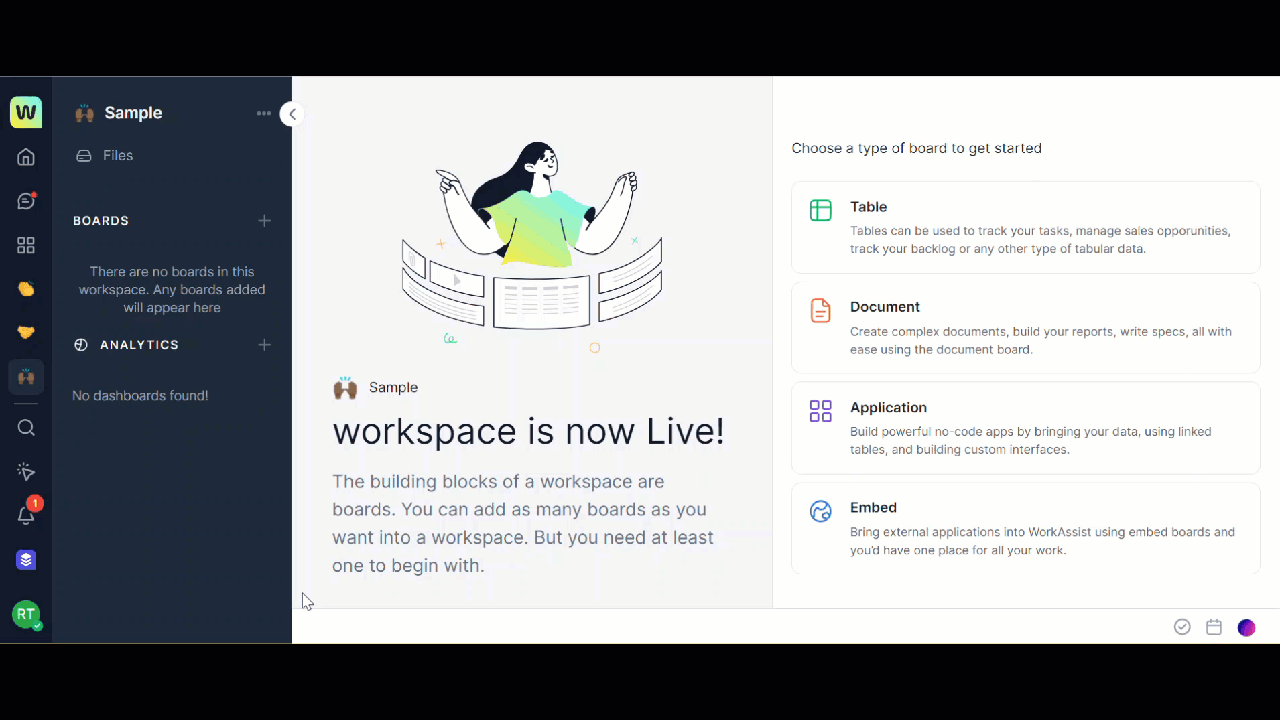
  2. Click the + icon corresponding to the Boards on the left navigation panel. A list of options is displayed.
  3. Click Table. The Create Table dialog is displayed.
  4. Click Connect to an existing data source. The Connect to existing data source dialog is displayed.
  5. Click Jira. The Add Jira account dialog is displayed.
  6. Click Add Account. The Atlassian access request dialog is displayed.
  7. Click Accept. The Select account dialog is refreshed and displayed.
    Note: If you are already connected to a Jira account then, you need not perform steps 5 to 7.
  8. Select your Atlassian Jira account name from the drop-down box of the Select an account field.
  9. Select your Site from the drop-down box of the Select site field.
  10. Click Select source. You can now Configure and connect the Jira source with Workspace.ai in the Configure dialog box.
  11. Choose one of the two sources:
    • Jira Project: This will help you to integrate the Jira project with issues so that your team can coordinate.
    • Jira Filters: This will help you to integrate the custom filters that you created to help track your Jira issues.
  12. Click Jira Project to integrate with a Jira project and create your table. The Select Jira Project dialog is displayed.
  13. Click Create Table. Your new table is created with the integrated Jira project.
    Note: All the members with whom the table is shared with, can update Jira using this account.


© 2023 Kore.ai, Inc. – All trademarks are the property of their respective owners.

Menu