In a dashboard, you can perform other tasks such as deleting a dashboard, renaming it, sharing a dashboard with other users, and duplicating a dashboard.
Rename a dashboard
By default, the name of a dashboard is “Dashboard”, however you can rename it as per your choice.
To rename a dashboard, follow these steps:
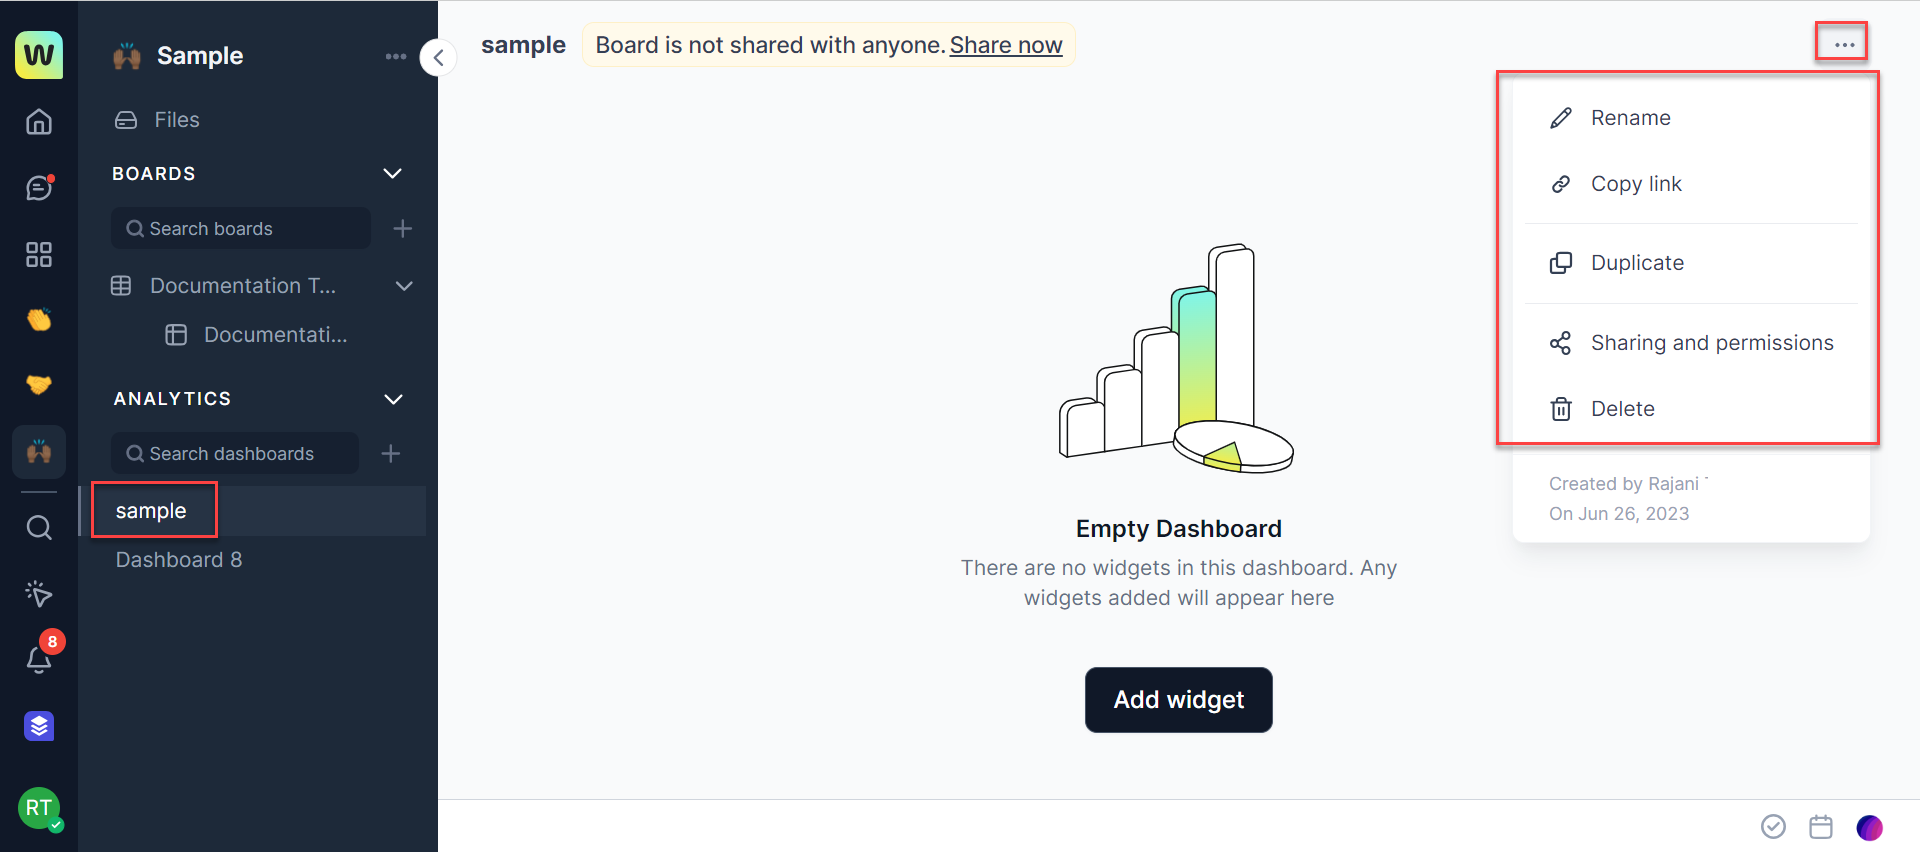
- Click the 3 dots icon that is visible corresponding to the dashboard name. A list of options is displayed.
- Click Rename from the options. You can modify the name.
Copy a dashboard link
You can copy the link of a dashboard and share it with other users.
To copy a dashboard link, follow these steps:
- Click the 3 dots icon that is visible corresponding to the dashboard name. A list of options is displayed.
- Click the Copy link from the options. Your link is copied and can be shared with other users.
Share and assign permissions to a dashboard
You can assign permissions and share a dashboard with other members.
Note: Members outside the workspace can not be added to a dashboard. If you want to add a non-member then you need to add them first to the workspace. Also, even though you are a member of a workspace you need to have permission to a corresponding table only then you can access the dashboard.
To share and assign permissions, follow these steps:
- Click the 3 dots icon that is visible corresponding to the dashboard name. A list of options is displayed.
- Click Sharing and permissions from the options. The Sharing and permissions dialog is displayed.
- Click the “Shared with Everyone in the workspace” toggle button if you want to share the dashboard with everyone.
- Click Invite users to add a user to a dashboard. The Invite users dialog is displayed. Add the name of the required member to share a dashboard. The member is added and can be viewed in the All Users section.
- Click the Role link corresponding to the username and set access levels to the users. The following access levels are available:
- Full access: You can invite other users, change access, and modify board preferences.
- Editor: You can only edit and collaborate on this board.
- Viewer: You can only view the application.
- Click Done to save changes.
Delete a dashboard
You can delete a dashboard if you no longer require it.
To delete a dashboard, follow these steps:
- Click the 3 dots icon that is visible corresponding to the dashboard name. A list of options is displayed.
- Click Delete from the options. A confirmation message is displayed. Click Ok to delete and continue with the deletion process.