In a table, you can perform other tasks such as deleting a table, renaming it, sharing your table with other users, and exporting the table as an excel sheet.
Copy and share the table board link
You can share the link of a table board with other users.
To copy and share the table board link, follow these steps:
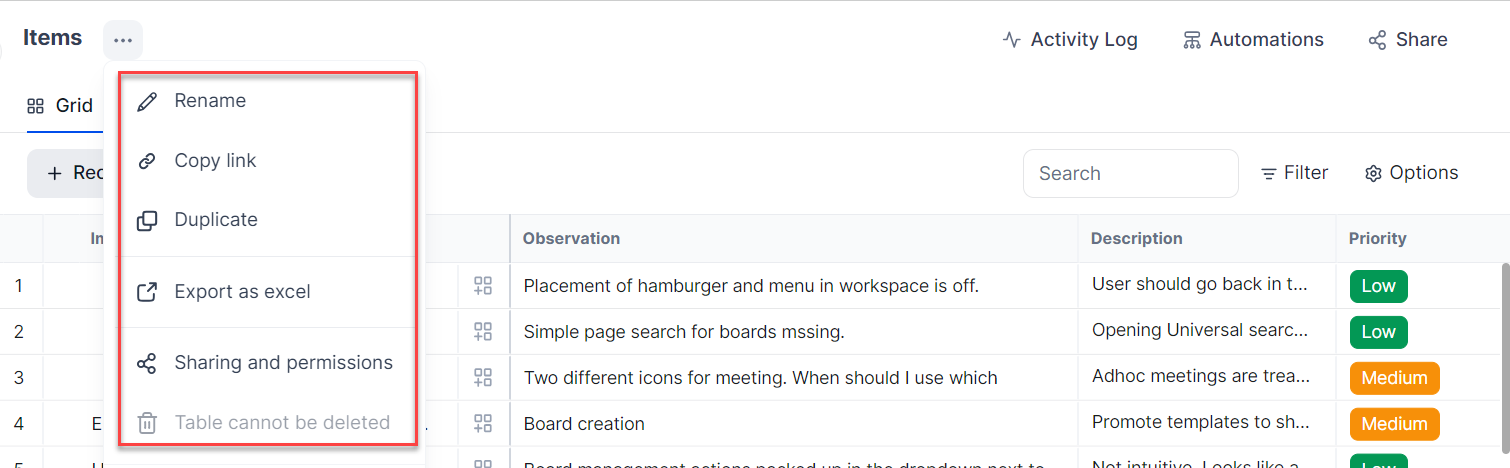
- Click the three dots icon on the header section of the table. A list of options is displayed as shown in the preceding image.
- Click Copy link from the options. Your link is copied and can be shared with other users.
Rename the table application
You can rename your table.
To rename the table, follow these steps:
- Click the three dots icon on the header section of the table. A list of options is displayed as shown in the preceding image.
- Click Rename. The table name is highlighted, and you can delete the old name and enter a name of your choice.
Export the table as Excel sheet
You can export a table and save it for your future reference.
To export a table, follow these steps:
- Click the three dots icon on the header section of the table. A list of options is displayed as shown in the preceding image.
- Click Export as excel from the options. The exporting process starts, and your excel sheet is exported to your downloads folder.
Share and set access permissions
- Click the three dots icon on the header section of the table. A list of options is displayed as shown in the preceding image.
- Click Sharing and permissions to share the board. The Sharing and permissions dialog is displayed.
- Click the “Shared with Everyone in the workspace” toggle button if you want to share the application with everyone.
- Click Invite users to add a user to a board. an application. The Invite users dialog is displayed. Add the name of the required member to share an application. The member is added and can be viewed in the All Users section.
- Click the Role link corresponding to the username and set access levels to the users. The following access levels are available:
- Full access: You can invite other users, change access, and modify board preferences.
- Editor: You can only edit and collaborate on this board.
- Viewer: You can only view the board.
- Click Done to save changes.
Delete the table application
You can delete your table application.
To delete a table application, follow these steps:
- Click the three dots icon on the header section of the table. A list of options is displayed as shown in the preceding image.
- Click Delete. A confirmation message is displayed to continue the deletion process.